Safety Training, HydraTite Installation, and Scaffolding Construction
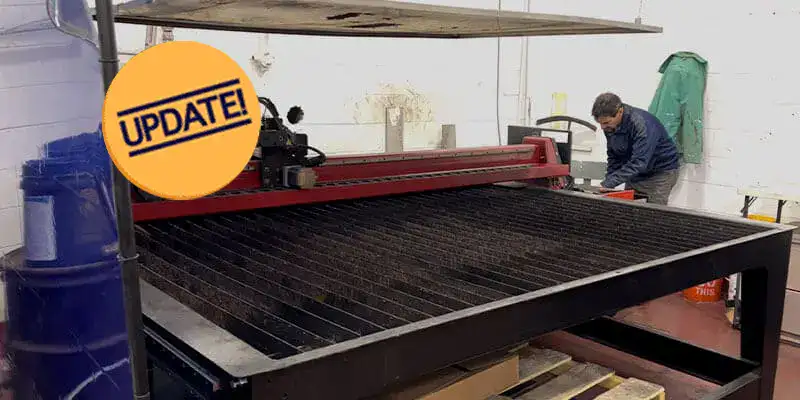
It’s the start of a new year and HydraTech plans to start the year off right, by making sure its employees are prepared for the work ahead. The field crew has completed their OSHA 30 training, attended a class on proper HydraTite installation, learned how to safely construct scaffolding.
Ben Steinbrunner is one of field service’s most experienced technicians and he was willing to pass his knowledge to the newer members of the crew. He broke down the installation process step by step so that everyone would be confident in their ability to install the HydraTite Seal.
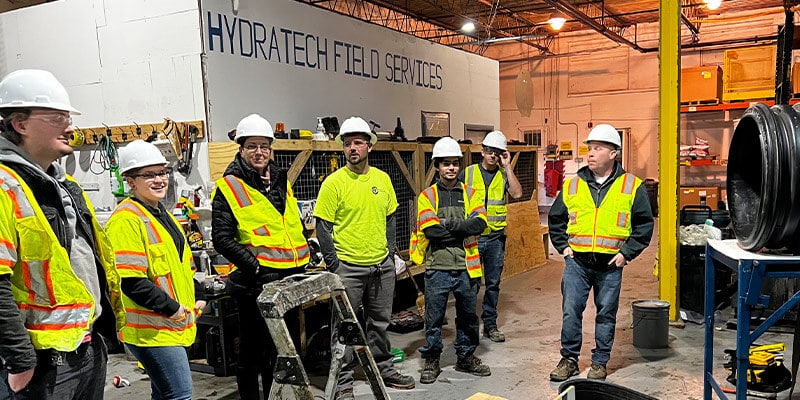
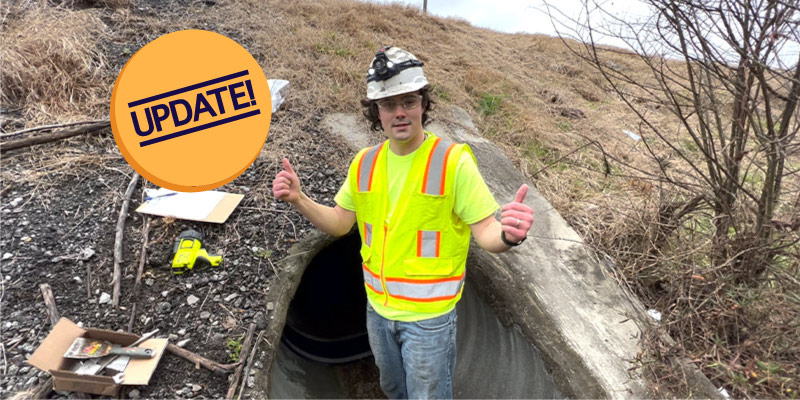
First safety procedures were discussed. Upon arrival at a job site, a person will be nominated hole watch and that person will work in concert with the technician(s) in the pipe. The hole watch helps monitor the oxygen level, ensure that the work area remains safe, and guard the workspace against unauthorized persons entering. The crew reviewed the confined space form and how to check-in and check-out of a pipe.
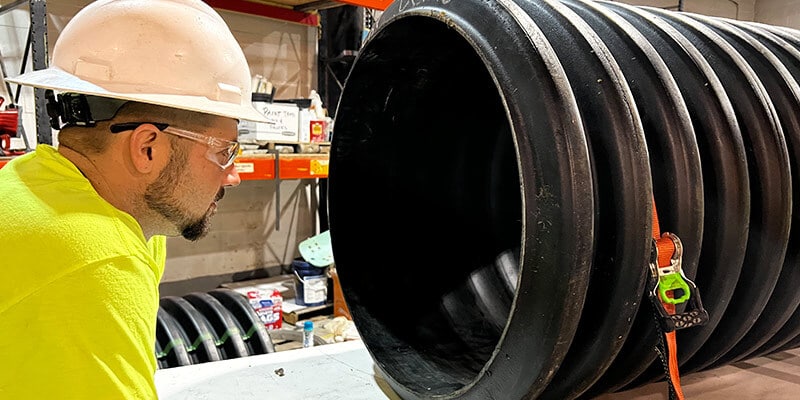
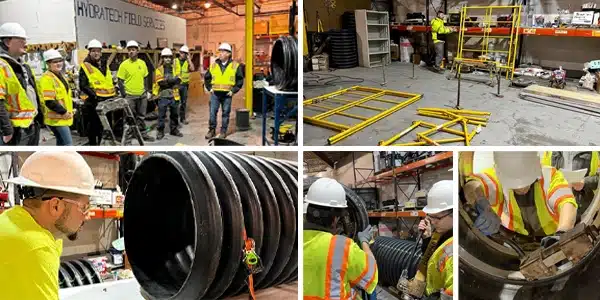
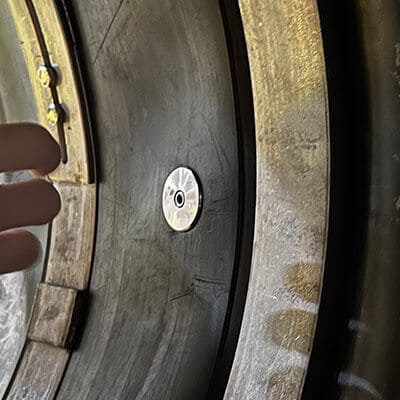
Then, the steel retaining bands are to be constructed outside of the pipe (if the seal has a multi-piece band) and then the bands are to be collapsed to the smallest allowable diameter for easy transport through the pipe. Next, the repair location in the pipe has to be prepared for the installation. The point or joint must be cleaned and smoothed, if the surface is uneven. The ribs of the rubber seal must maintain contact around the entirety of the pipe’s circumference. When positioning the rubber, the ribs must rest on either side of the repair location and the test valve (if one is included on your seal) should be positioned on the side for ease of access. The retaining bands are then placed in the seat of the rubber seal. The retaining bands are expanded and tested to ensure that the pressure stays consistent. A wedge is inserted to lock the retaining bands in position. The expander is then removed and if the seal has a test valve and an air test is performed.
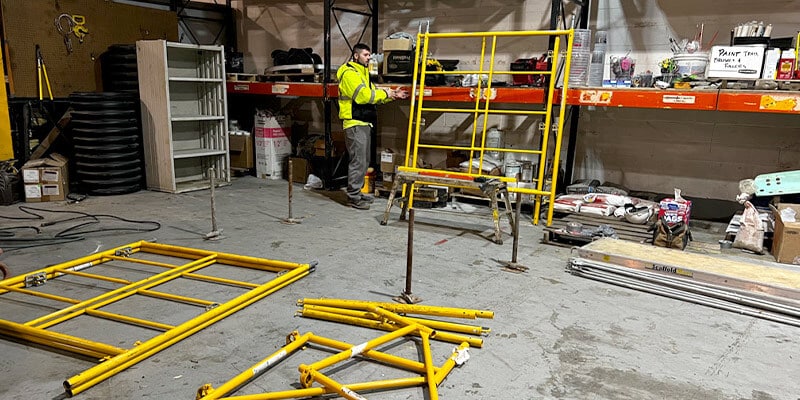
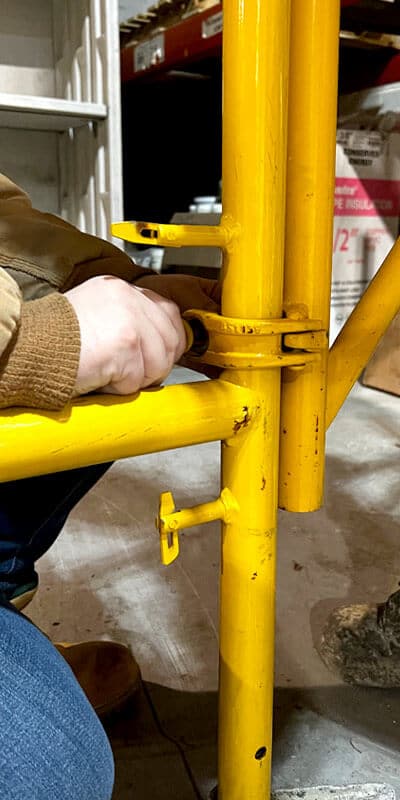
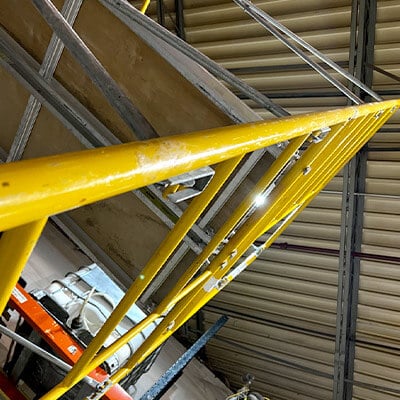
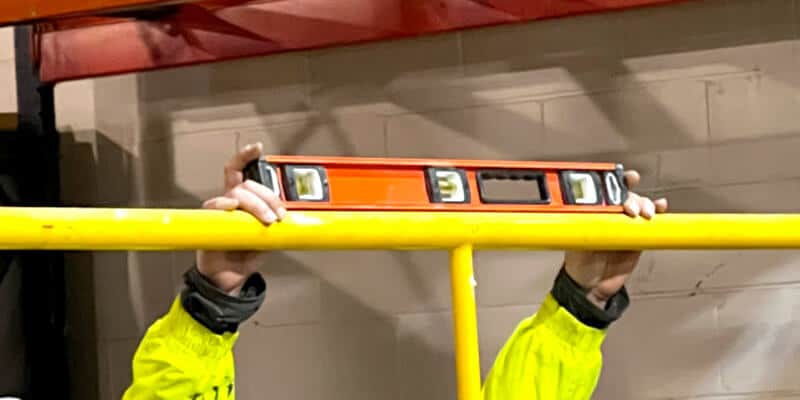
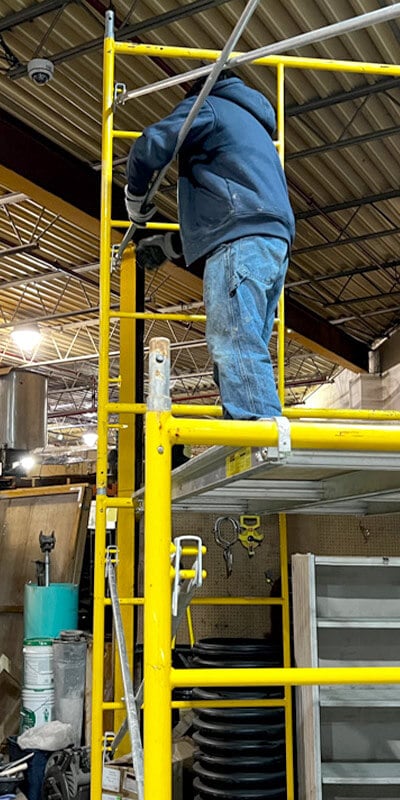
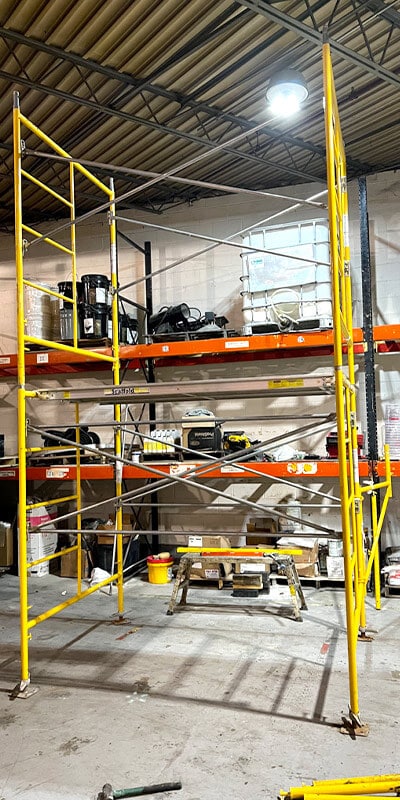
After Ben had completed explaining the installation of the HydraTite Seal, Justin Lankford taught the crew how to properly construct scaffolding. First, the leveling feet had to be adjusted so that they could be extended down if needed later in the scaffolding construction process. As the scaffolding went up piece by piece, Justin explained what height harnesses are required, how to use the mid and top rails, and how to level the entire structure.
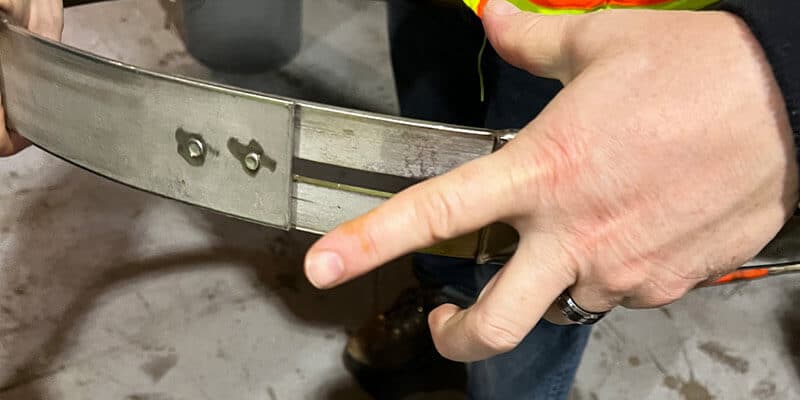
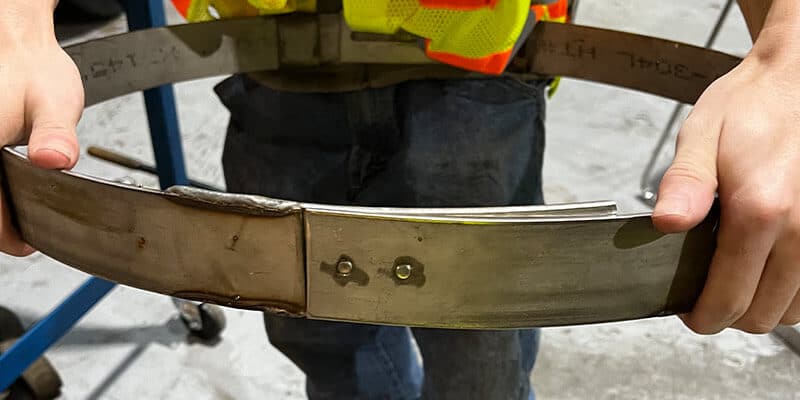
Collapsing the retaining bands outside of the pipe for easy transport through the pipe.
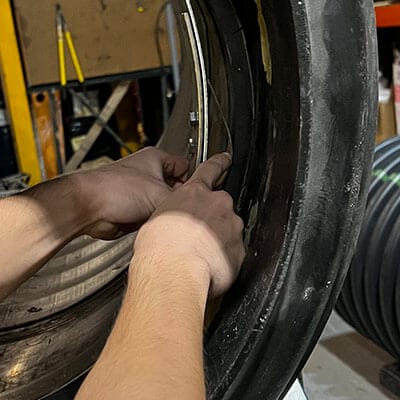
Shims are placed beneath the retaining bands.

The claw of a hammer is being used to create an opening for the expander.
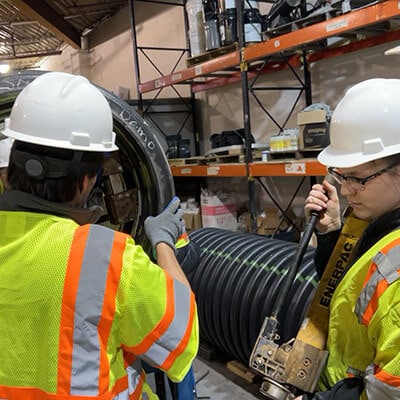
Placing and expanding the expander.
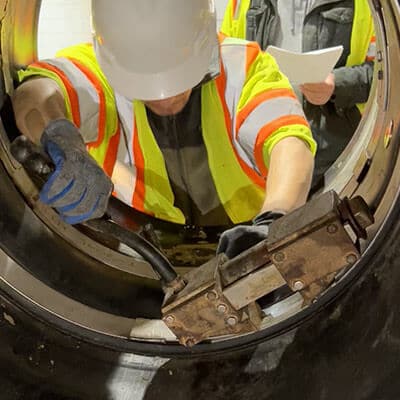
Preparing to insert a wedge to lock the retaining bands in position.
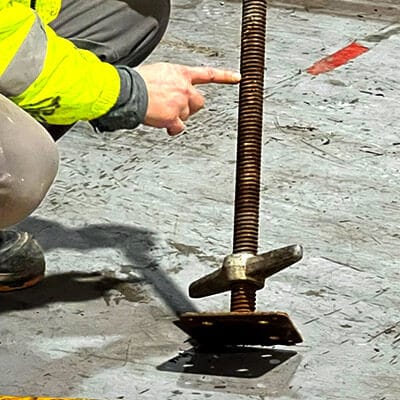
Setting the leveling foot to allow it to be extended downward if needed later in the scaffolding construction process.
